I enjoy testing new beauty products, especially if there’s a chance of improving my natural lashes which don’t have the impressive length or thickness. Buying Nanolash DIY Eyelash Extensions sounded like a good idea!
DIY eyelash extension? I’m in! The product’s manufacturer promises results lasting for up to 5 days as well as easy, trouble-free application in 10 minutes! I was dying to try this lash set!
Nanolash DIY Eyelash Extensions – First Impressions Review
I decided to test the cluster lashes and bought my luxury lash wisps directly through the brand’s website. Three available sizes 10, 12 and 14 mm as well as eight styles were the first pleasant surprises.
When it comes to the first impressions – they’re definitely positive. The benefits of these lash extensions:
- a thin, flexible, black band which blends perfectly with the natural lash line.
- ultralight material; the DIY lash clusters are comfortable to wear.
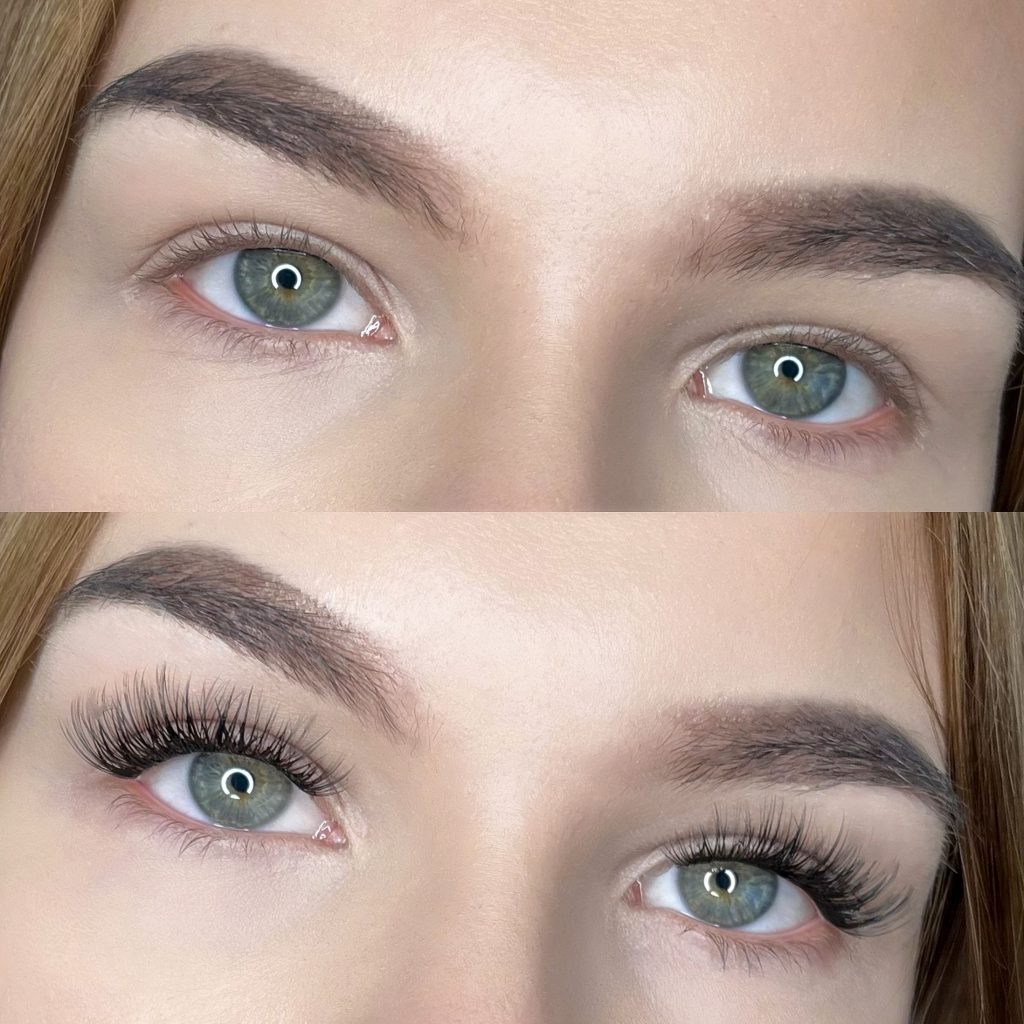
- natural-looking lashes; the wisps Nanolash DIY Eyelash Extensions feel soft and look real (no unnatural-looking fans).
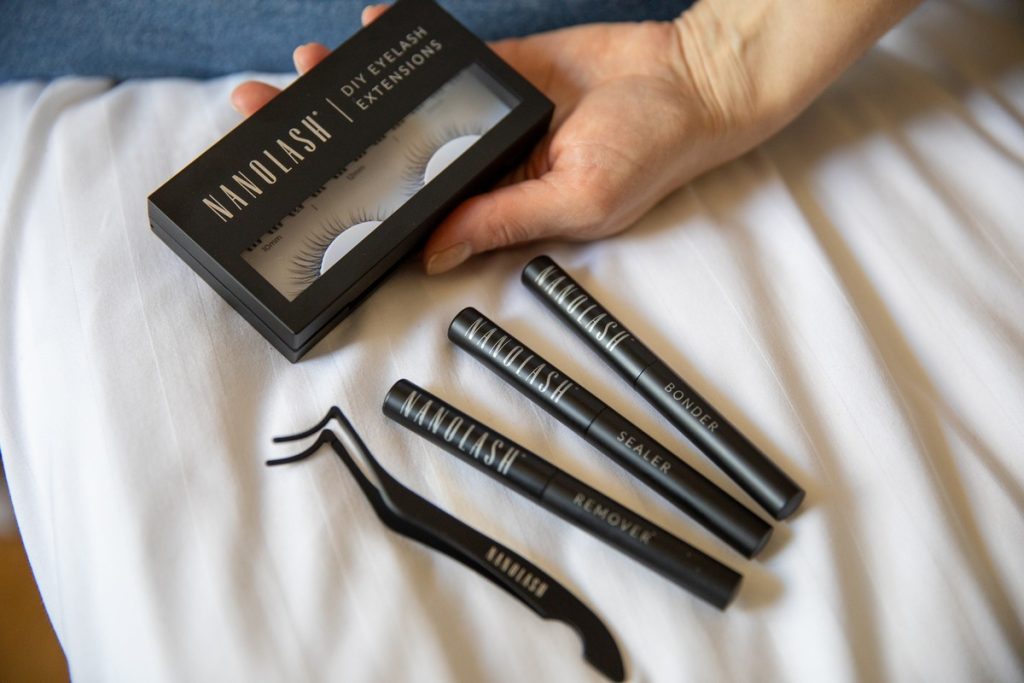
These lightweight lash extensions are also available in a DIY EYELASH EXTENSIONS STARTER KIT. The brand made DIY lash extension the easiest possible; the lash set additionally contains the sealer, bonder, remover and lash tweezers!

Applying cluster lashes – Nanolash DIY Eyelash Extensions – took little time or effort!
Finally, I decided to apply my DIY Eyelash Extensions; I had no experience in applying cluster lashes. I always had them done by a lash technician, but then less time for in-fills and the price hikes at the salons were the dealbreaker…
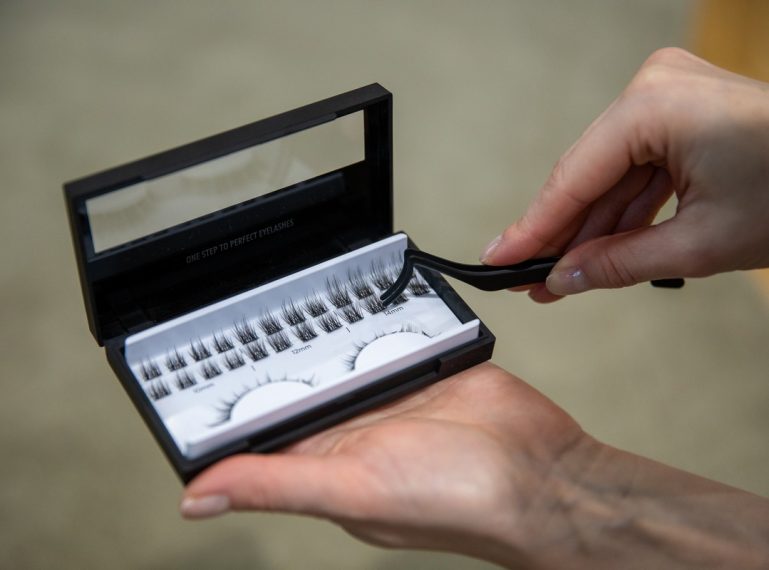
Thankfully, applying cluster lashes at home turned out trouble-free. The box includes 36 premade clusters plus directions for use saying we need 4 or 5 bundles for one eye. I did my own calculations which showed one box is enough for around 4 applications!
Let’s get to the bottom line, though. The instructions tell us how to apply cluster lashes step by step. A tiny blob of the bonder, one use of the tweezers and the cluster is attached! A few seconds were enough to place the first of the clusters on my lash line. Applying the rest was as easy!
All in all, I vouch for the brand; 10 minutes were enough to apply cluster lashes on both eyelids.
Nanolash DIY Eyelash Extensions – How Long They Last Plus Aftercare
As promised, DIY lash extension with the Nanolash eyelash clusters was nice and easy, but that’s not the only thing I counted on; I wanted long-lasting results too. The manufacturer guarantees we can apply the lash wisps and wear them for even 5 days. The promise required my verification!
Knowing how to apply cluster lashes, I put on my lash extensions for the first time. Naturally, I followed proper aftercare instructions; I didn’t use harsh or oil-based makeup removers, and brushed through the lashes regularly.
Eventually, the lash style lasted for 8 days! I guess that sleeping on my back was another thing that made the lash extensions last longer.
After taking off cluster lashes, I noticed:
- my natural lashes weren’t damaged.
- the glue residue was removed easily.
- although the producer says these are single-use cluster lashes, I think I can reuse mine; they didn’t lose the initial shape and stayed flexible.
These are the best DIY eyelash extensions I could get!
Nanolash DIY Eyelash Extensions – Review and Conclusions

The DIY cluster lash extensions proved a nice surprise. They look realistic, feel light, and applying them really takes just a few minutes. I can apply cluster lashes at home – without extra costs or problems.
I also appreciate the wide range of eyelash extension styles. The lash wisps by Nanolas work great for everyday wear as well as special occasions. We can mix and match them to enjoy the desired result. Simply put – I heartily recommend them!
